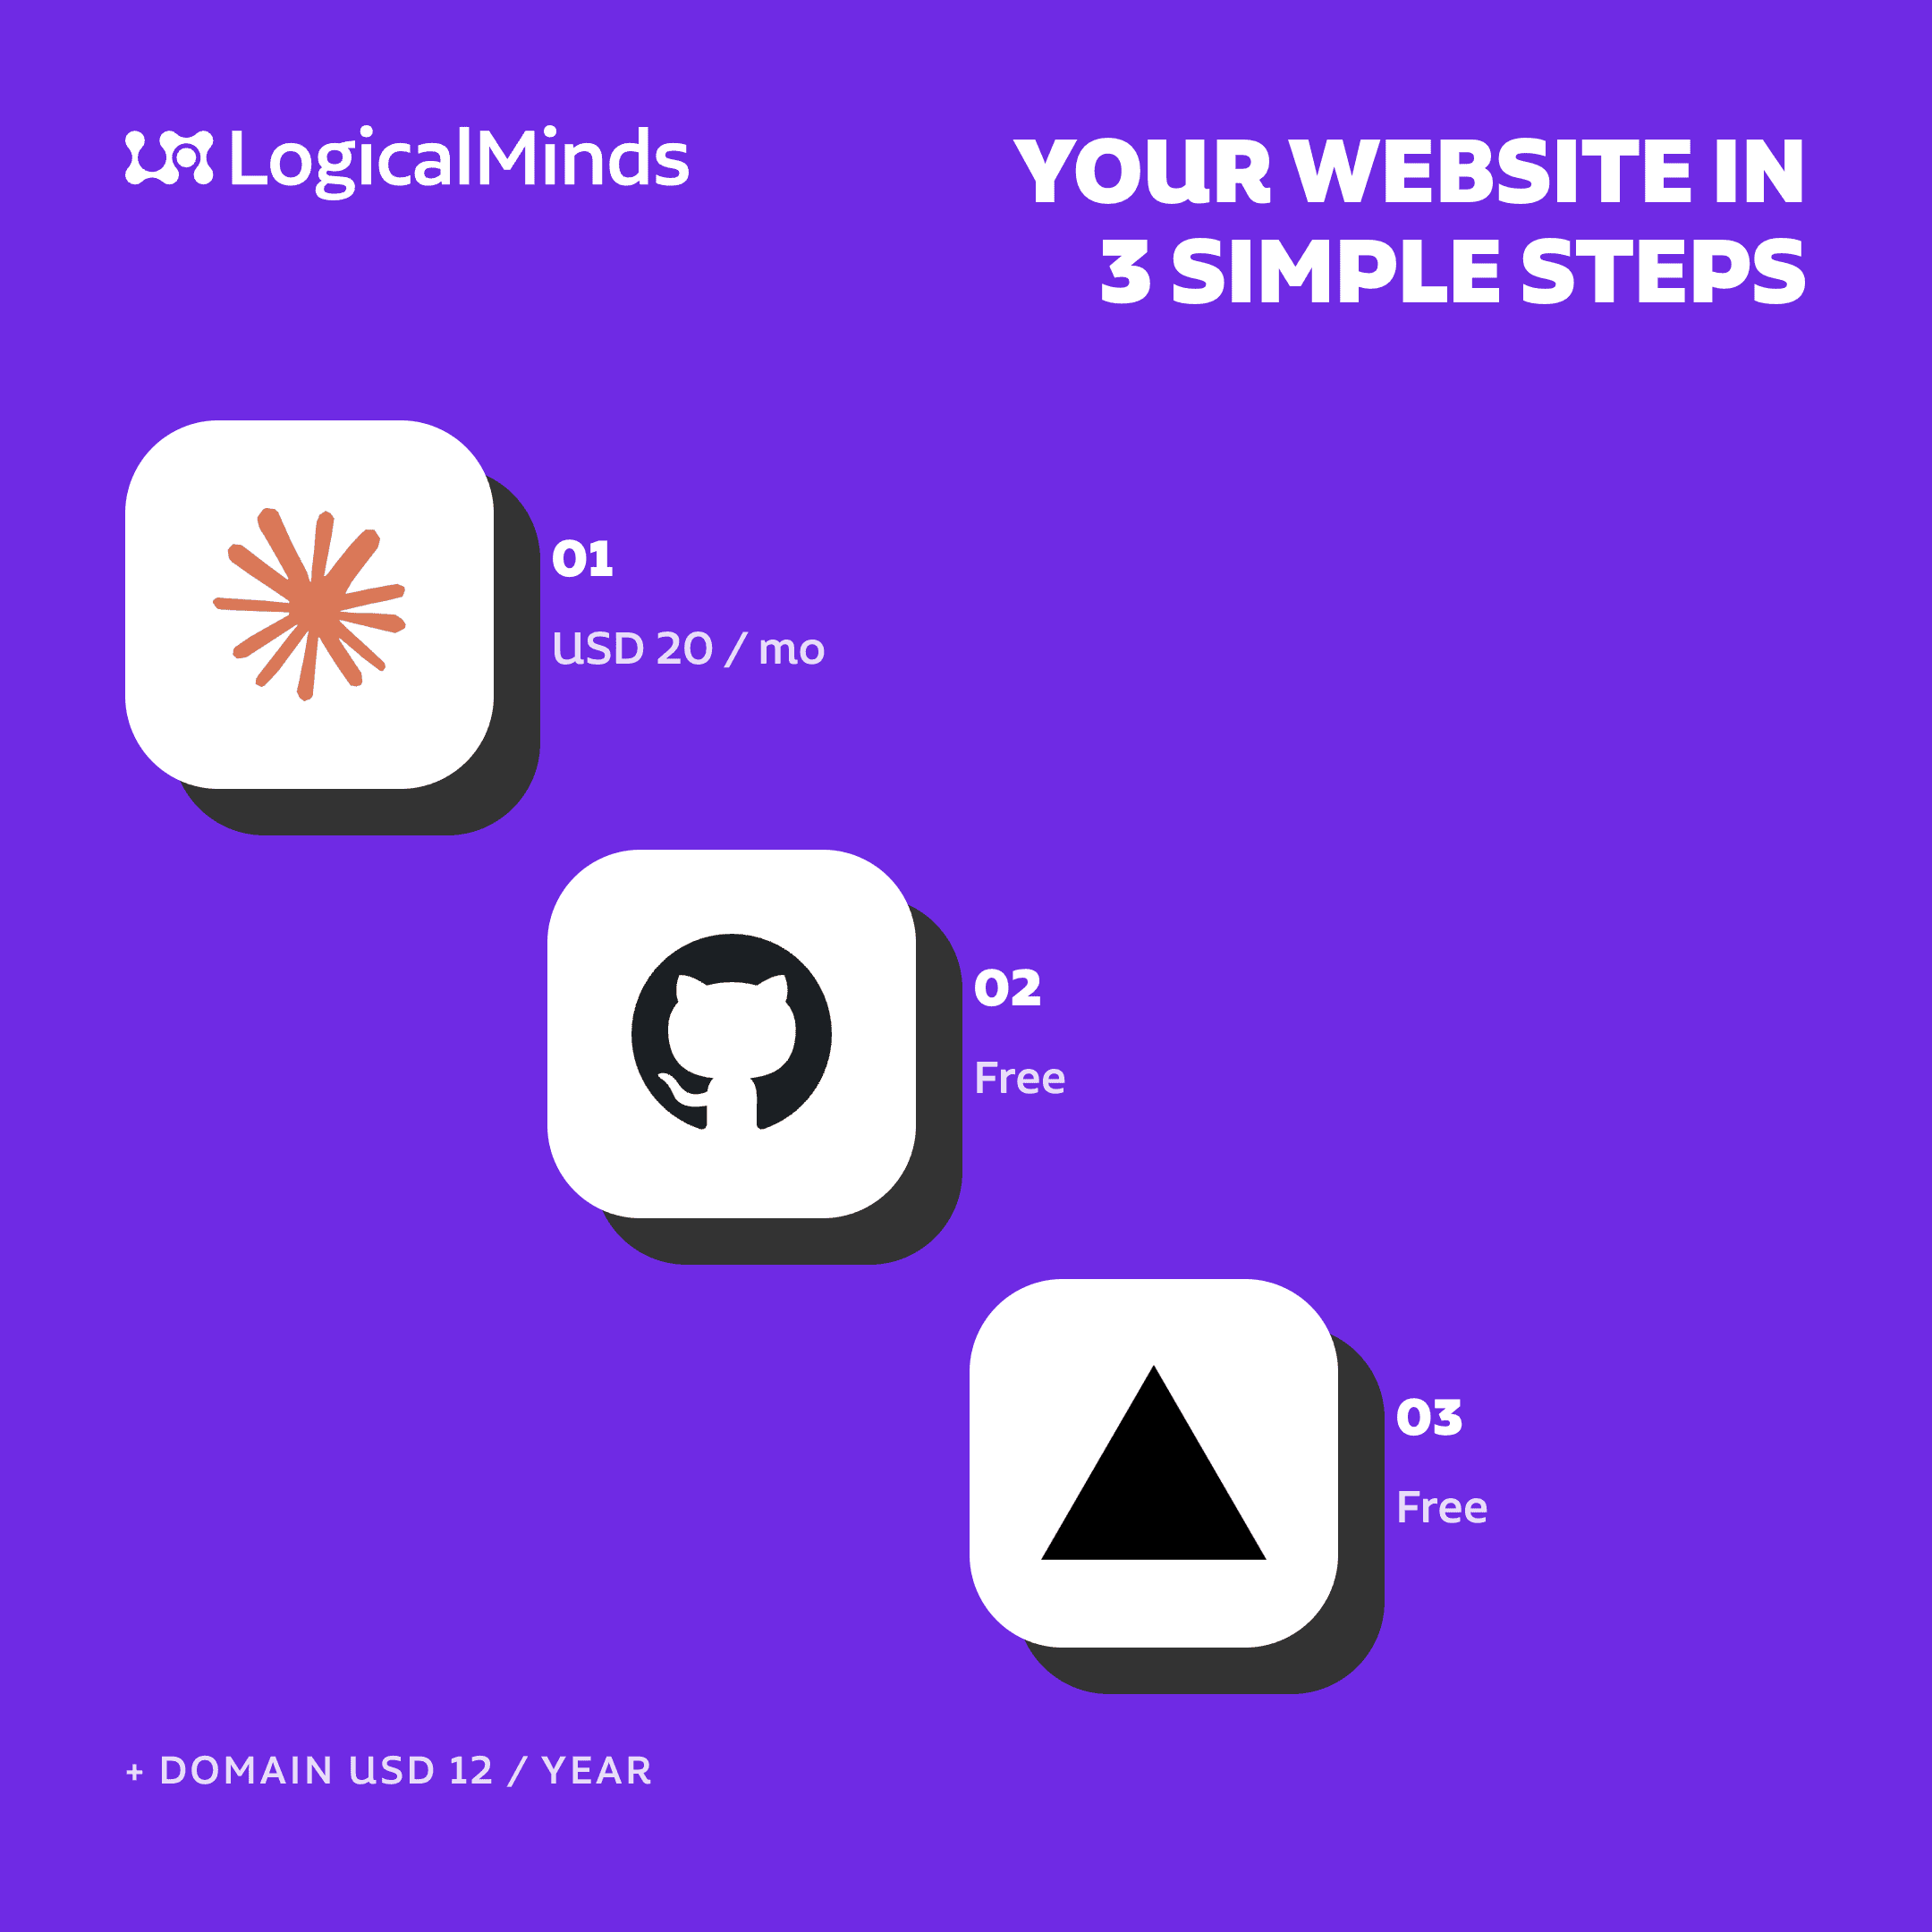
Need a website for your business, your portfolio, or a personal project — and don't want to pay a developer or a monthly hosting bill? Good news: today you can have a professional, fast site that's online 24/7 for practically nothing. And best of all: without knowing how to code and without touching a terminal. Everything happens in apps with windows and buttons, like any program you already use.
The formula is simple:
- An AI that codes for you (the Claude Code desktop app from Anthropic, or the Codex app from OpenAI) writes the site. You talk to it in plain language, it does the rest.
- GitHub stores that code in the cloud, for free.
- Vercel publishes your site to the internet, also free.
- Your own domain (your web address, like yourbrand.com) gives it a professional identity. You buy it right inside Vercel and it configures itself.
What you'll need
This guide walks you through the whole thing, step by step. To follow along you only need:
- A computer running Windows or Mac.
- An email address.
- Optional but recommended: a card for the domain (between 10 and 20 dollars per year).
About the cost of the AI: both Anthropic and OpenAI offer affordable subscription plans (Claude Pro or ChatGPT Plus, around 20 dollars a month) that include their coding assistants. The trick: you can pay for a single month, build your site at your own pace, then cancel the subscription. Your site stays online regardless. GitHub and Vercel, for a personal project, are 100% free.
Step 1: Create your GitHub account
GitHub is the platform where half the internet's code lives. It's where your site's code will be stored, and where Vercel will read it from to publish it. Think of it as the “Google Drive” of your website.
1. Go to github.com and click Sign up.
2. Enter your email, choose a password and a username (choose it well — it will be public).
3. Verify your email with the code they send you.
4. When it asks about a plan, pick Free. For what we're doing, it's more than enough.
And that's it — nothing else to do here. You don't even have to create the repository (the “folder” where the code will live): the AI will do it for you later on.
Step 2: Choose and install your AI assistant
You have two paths here, and both work great. Both are desktop applications: you install them like any program, they open in a window, and you type what you want in natural language. No weird commands.
Option A: Claude Code (Anthropic)
1. Create your account at claude.ai with your email or your Google account.
2. Subscribe to Claude Pro, which is what enables Claude Code.
3. Download the Claude Code desktop app from Anthropic's official site (claude.com/claude-code). Available for Mac and Windows.
4. Install it like any program (double click, next, next) and open it.
5. Sign in with your Claude account. Just once — it stays saved.
Option B: Codex (OpenAI)
1. Create your account at chatgpt.com.
2. Subscribe to ChatGPT Plus (or higher), which includes Codex.
3. Download the Codex app from OpenAI's site (developers.openai.com/codex/app). Available for Mac and Windows.
4. Install it, open it, and sign in with your ChatGPT account.
Which one to pick? Both are excellent for building websites. If you already pay for one of the two subscriptions, use that one and don't spend more. For the rest of the guide the examples work with either, because the flow is identical: you ask, the app works.
Step 3: Create your website with the AI
This is where the magic starts.
1. Open the app (Claude Code or Codex). It will ask you to choose a working folder: create a new one in your Documents, call it something like my-website, and select it. That's where your project will live.
2. Ask for what you want, in detail. Write to it like you'd write to a designer. The more specific you are, the better it comes out. An example: “Create a website for my specialty coffee shop in Buenos Aires. I want a home page with a big photo, a section with the menu, another with the story of the shop, and a contact page with a map and opening hours. Warm look, earth tones, modern typography. It has to look perfect on a phone. Use Next.js.” That last detail (“use Next.js”) is the only technical term we ask you to memorize: it's a technology that pairs perfectly with Vercel and guarantees publishing is automatic later.
3. Let it work. The AI will create all the files and install whatever is needed, on its own. When it finishes, ask it to show you the site running: it will give you a local link (something like http://localhost:3000) that you open in your browser to see the result before publishing. If the app asks for permission to run something during the process, that's normal: it's how it asks for your OK before touching your computer.
4. Iterate as much as you want. Not sold on the color? Want a pricing section? A floating WhatsApp button? Tell it in your own words: “make the background a lighter beige”, “add customer testimonials”. It fixes things on the spot, and you can keep polishing until it looks exactly how you imagined it.
Step 4: Upload the code to GitHub (just ask the AI)
With the site running on your computer, it has to go up to GitHub so Vercel can publish it. The technical part? It doesn't exist: you delegate it to the AI. In the same conversation, write: “Create a GitHub repository called my-website and upload all the project's code.”
The app knows how. If it's the first time, it will probably ask you to authorize your GitHub account: it opens the browser so you sign in and grant permission, just like connecting any app to your Google account. You accept, go back to the app, and it finishes the job.
To check everything went well, visit your profile at github.com: you'll see the my-website repository with all the files inside. 🎉
Step 5: Publish the site with Vercel
Vercel is the platform that puts your site online, security certificate included (the HTTPS padlock in the browser), without you paying a cent.
1. Go to vercel.com and click Sign Up.
2. Choose the Hobby plan (the free one) and register with Continue with GitHub. This detail is key: by signing in with your GitHub account, the two platforms connect automatically and there's nothing to configure.
3. When GitHub asks whether you authorize Vercel, accept.
4. Once inside, click Add New… → Project.
5. You'll see the list of your repositories. Find my-website and click Import.
6. Vercel detects which technology you used and configures everything. Don't touch anything: click Deploy.
7. Wait a minute or two and… your page is online! It gives you an address like my-website.vercel.app that you can already share with anyone.
The bonus track: from here on, whenever you want to change something, you ask the AI and tell it “push the changes to GitHub”. Vercel detects the update and republishes your site on its own, in about a minute. You edit today, tomorrow, next month: the circuit stays wired forever.
Step 6: Buy your domain (zero configuration)
Your site already works, but yourbrand.com looks much more professional than yourbrand.vercel.app. This is the only real expense in the whole process, and we'll take the easy road: buying it directly on Vercel, so it configures itself and you never touch a technical setting.
1. In Vercel, open your project and go to Settings → Domains (or the Domains tab on the main panel).
2. Type the domain you want (for example, yourbrand.com). Vercel instantly tells you if it's available and what it costs per year (a .com is usually around 10–20 dollars a year).
3. Click Buy, enter your card, and confirm the purchase.
4. Done. Seriously: done. Since the domain and the hosting live in the same place, Vercel connects it to your site automatically, security certificate included. Within minutes, your website answers at your own domain.
No DNS, A records, CNAMEs, or any of those acronyms. That's exactly the point of buying it here.
What about a country-specific domain (like .com.ar)? Those are registered separately with the local registry and then connected to Vercel by hand with a couple of technical tweaks. Perfectly doable, but if you want the friction-free path, a .com bought right on Vercel is the simplest option. Leave the country domain for a second stage, or for when someone can give you a hand with the technical side.
So, what did it all cost?
Adding it up:
- GitHub (Free plan): $0
- Vercel (Hobby plan): $0
- Claude Pro or ChatGPT Plus: ~USD 20 (a single month, cancelable)
- A .com domain bought on Vercel: ~USD 10–20 per year
For less than a dinner for two, you get a professional website with your own domain, first-class hosting, HTTPS security, and a circuit where every change you ask the AI for publishes itself. No terminal, no code, no weird configuration. And if you don't need to keep making big changes afterwards, you cancel the AI subscription and your site stays online like nothing happened.
Now for real: download the app, tell the AI your idea, and in one afternoon your website is live.
Have a product in mind?
Tell us what you're building — we'll tell you how we'd ship it.